|
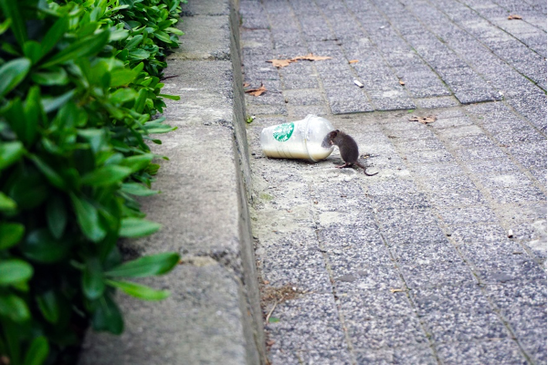
Many in-home pest problems can be solved or significantly reduced with pest-proofing through exclusion. If a bug can’t get inside, it can’t cause a problem, right? In this week’s blog, let’s discuss a few ways to make your home impenetrable to the army of insects and other pests trying to find their way inside before insects start to set up shop indoors during the fall. How to Pest-ProofDid you know that a house mouse can enter a dwelling through an opening as small as ¼” in width? Small and often overlooked openings in and around the home provide a perfect way for pests to invade your space. Pest-proofing is important because not only can it prevent pest entry, it can reduce pest movement and establishment within a structure, too—making bugs and other pests easier to control if they do somehow get inside. Termed “exclusion”, this step is often one of the first in an integrated pest management plan. Exclusion is an effective way to control pests without the need for pesticides. Many of the materials you need for pest-proofing are found at your local hardware store and are probably materials you have used before for simple home repairs (note: this may not be the case for rodents—see this article for help with proper rodent exclusion). Otherwise, here a few easy things you can do to take the steps required to block entry before pests give you a headache. 1. Apply caulk to the cracks around windows, doors, and other exterior-facing components of the home. To see where there are points of entry, turn on the interior lights and walk the exterior at night. Use silicone or acrylic latex caulk to fill any areas where light escapes. Acrylic latex is less flexible than silicone, but cleans up easily with water and it can be painted over. If the area is likely to take on water frequently (e.g., under sinks, around bathtubs or toilets)—use silicone. If you are worried about aesthetics, clear-drying caulks are easier to use because they do not show mistakes like pigmented caulk. 2. Apply silicone caulk to tubs, toilets, pipes, and any other area where water tends to pool and/or leak. This will discourage the entry of insects looking for water. 3. Seal any utility openings that are present. These sites are where pipes and wires enter the foundation and siding, such as around outdoor faucets, gas meters, dryer vents, etc. These are exceptionally common entry points for insects and other animals. You can close these openings with a number of materials—really any suitable sealant is appropriate. The choice will depend on the site, as well as how large the opening is. Example materials include, but are not limited to, cement, caulk, expandable foam, and steel wool. 4. Install door sweeps and weather stripping on and around all doors. Like we mentioned in step one, you can assess whether there are gaps around door frames by looking for light filtering in above, below, and around the sides of the doorway. Gaps of only 1/16” or less can allow insects and other arthropods inside. Keep in mind that corners are the most susceptible to pest entry. These recommendations apply to garage and sliding doors as well—in general, garages are also especially susceptible to pest entry. 5. Make sure that all window and door screens are in good repair. This will cut down on the entry of flying insects. However, very small insects like leafhoppers or gnats are able to penetrate standard-sized window screen mesh. If you see high numbers of small insects and you have evaluated your screen for holes or tears and found none, the best solution is to leave windows closed during periods of high insect activity. If you really would like leave the windows open, sticky traps/fly paper can quickly capture flying insects as they enter.  Window screens and gaps around windows are a forgotten way that insects gain entry into the home. Ensure that all tears and rips are repaired, especially since insects that are attracted to light will often fly to windows when it starts to get dark outside. (Image Credit: Darrin Henein, Image Source: Unsplash) 6. Wire mesh can be installed over vents in the attic, roof, or crawl space. Chimney caps exclude nuisance vertebrates like birds and racoons. The mesh used in these areas should be ¼”. Be careful during installation as the wire can be quite sharp at the edges. 7. Deal with standing water and other areas that hold moisture. Trim back bushes so that they offer less shade to insects. Make sure that ornamental plants are not touching the structure, as this essentially gives insects a bridge right into the home. Be sure to fill or otherwise eliminate holes in the yard that hold standing water, even for a short time. 8. Take this time to do a pantry clean-out as well. No tools required! Throw away expired foods, store foods in in glass or plastic instead of cardboard or paper, and make sure that none of your food products have any evidence of insect or rodent activity (e.g., frass, webbing, gnaw marks). ConclusionsDon't wait until fall when it is too late and pests have already made preparations for invasion. Instead, be proactive! These small improvements to your home will help with resale value, they can stabilize energy costs, and, importantly, keep pesky critters outside, where they belong.
0 Comments
Your comment will be posted after it is approved.
Leave a Reply. |
Bug Lessons BlogWelcome science communicators and bug nerds!
Interested in being a guest blogger?
Archives
November 2023
Categories
All
|
